Recent residential remodels around the Connecticut shoreline. Every photo is a real project — not a stock render. Captions name the surfaces and finishes used.
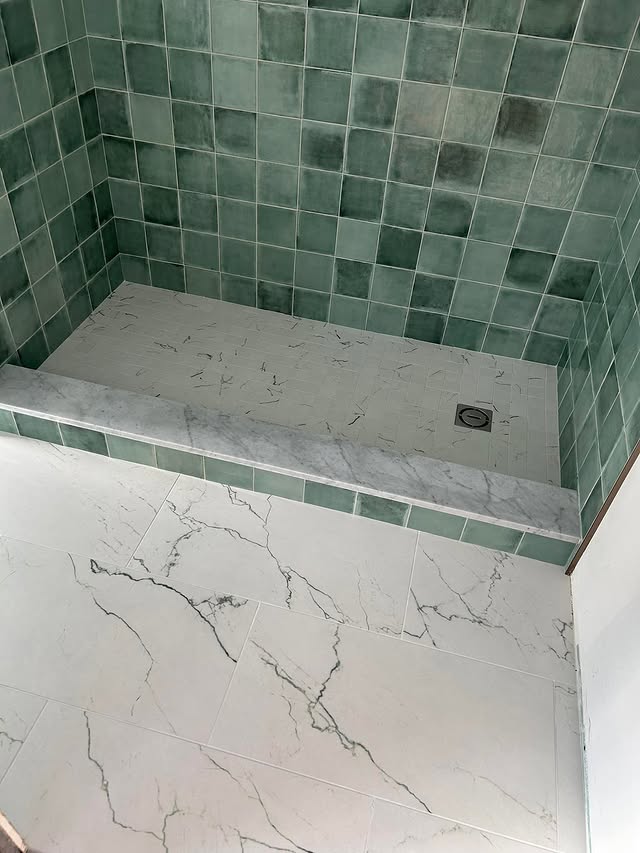
Drag the handle to compare two bathroom finishes on the same wall plane — an honest material comparison rather than a staged transformation.
Figures shown for material comparison — two separate baths.
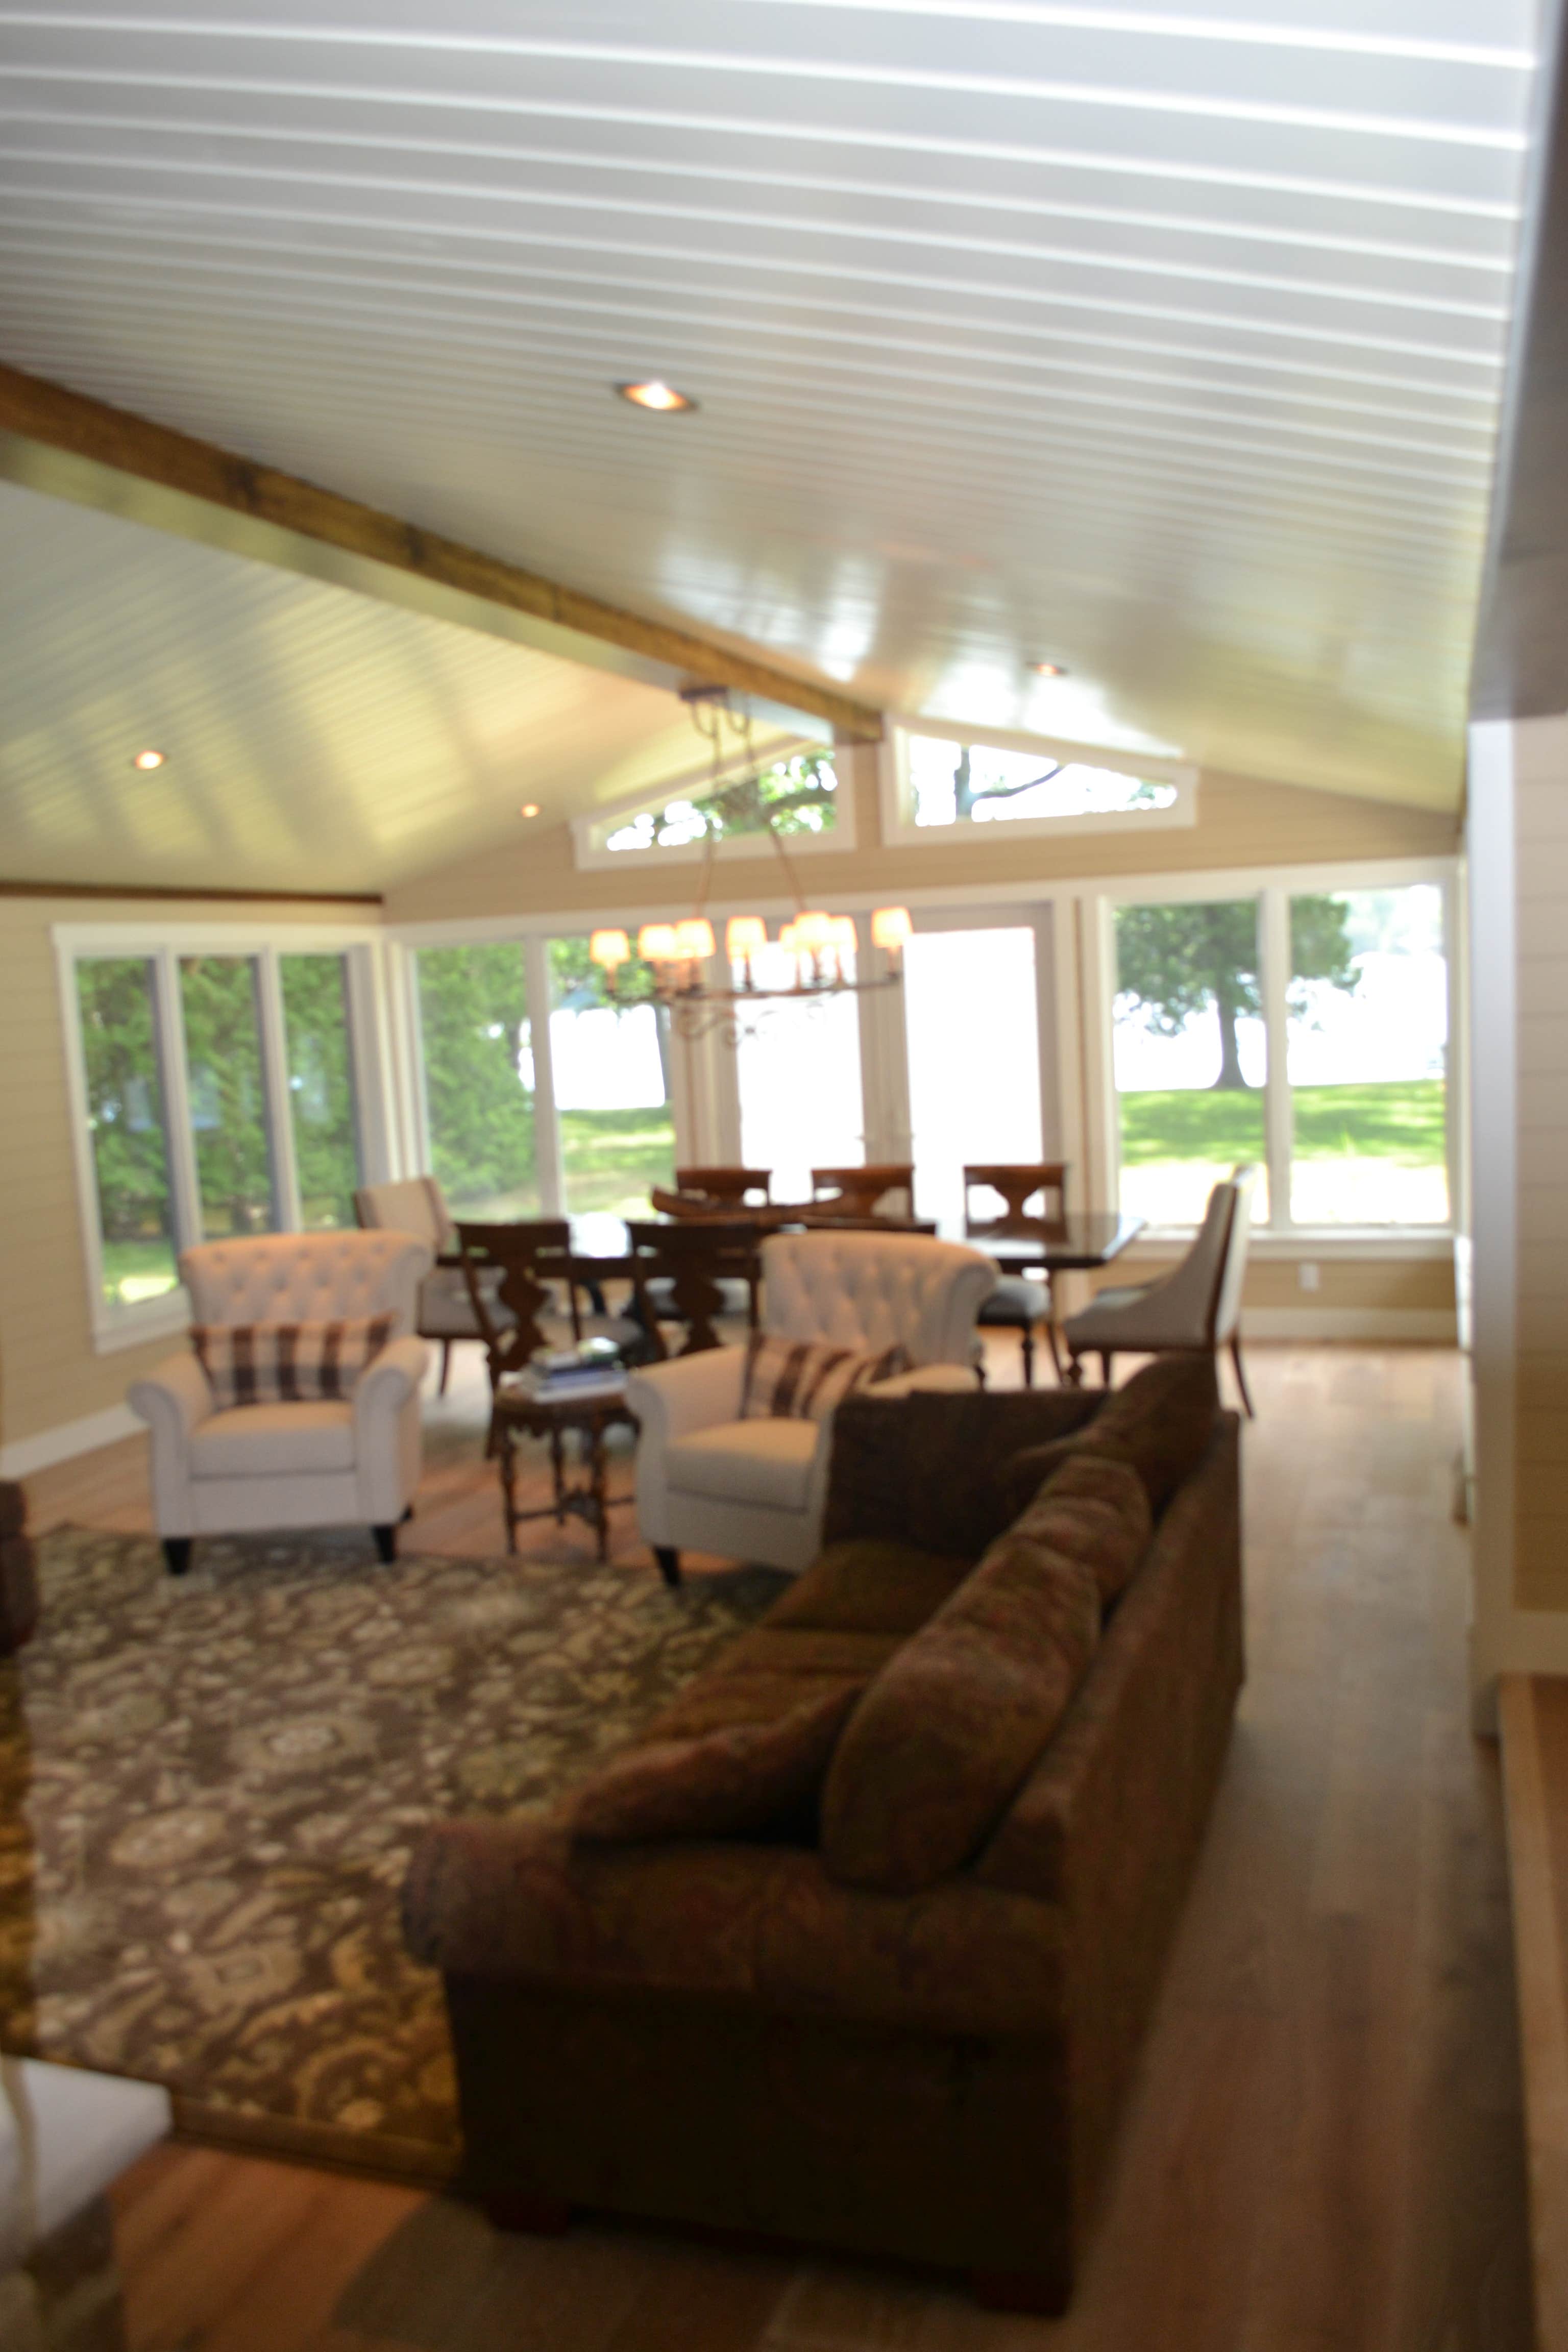
The original roof carried a 7/12 pitch on common rafters. To open the ceiling we engineered a structural ridge with paired LVL, dropped a flush header at the new opening, and hung the rafters from a strap-tied saddle. The shiplap on the underside is white-washed pine, run perpendicular to the ridge so the eye reads the length of the room.
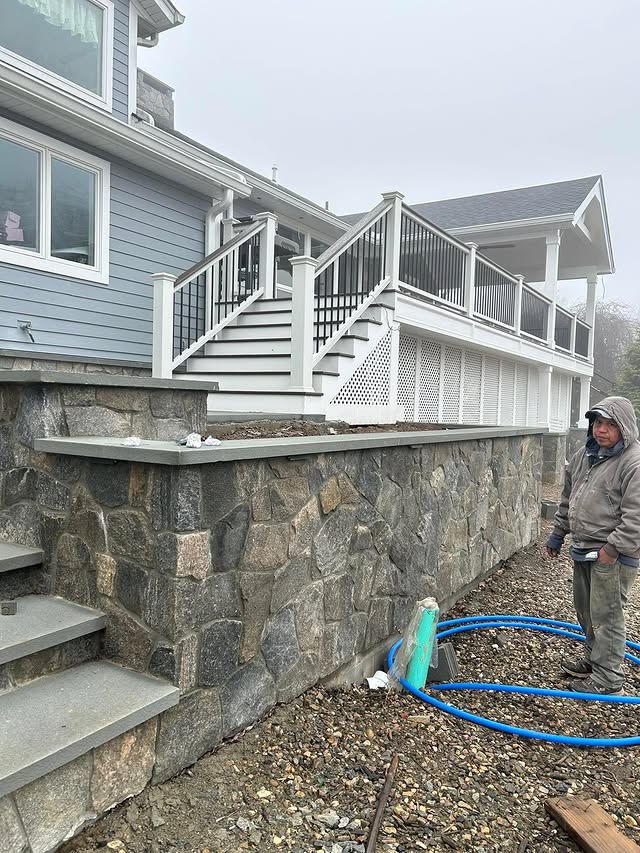
Existing house wore a thin-set cultured stone the rain didn’t love. We pulled it down, drained behind, and reset full-thickness ledgestone on a continuous galvanized lath bed. The mortar was tinted to the clay range of the local fieldstone — struck flush, sponged off, then dry-brushed so the joints disappear at twenty feet.
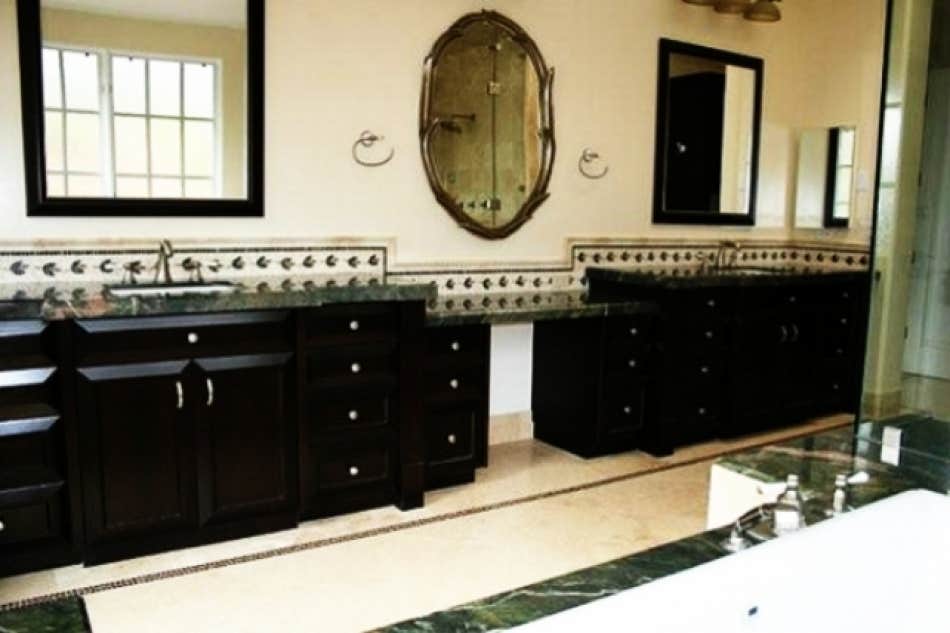
The slab arrived with a tight green-and-white vein. We laid it out across both vanities with a single seam dropped into the negative space between the two basins, then mitered the front edge to read as 2-1/4″ thick. Faucet centers were laser-marked off the vein, not the cabinet centerlines.
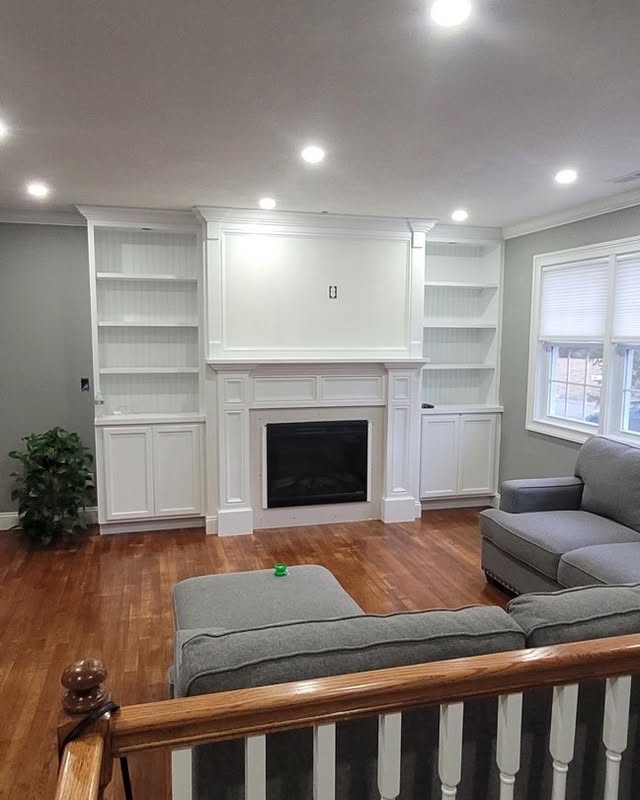
Plywood carcasses scribed to the wall on site, then pulled and trimmed with poplar face frames at the bench. Spray-finished off-house, walked back in, and hung. The crown returns into the wall on a tapered wedge so the cap line stays dead level even where the ceiling drifts.
Tell us the room and the rough budget. We’ll tell you whether we’re the right hands for it — honestly.